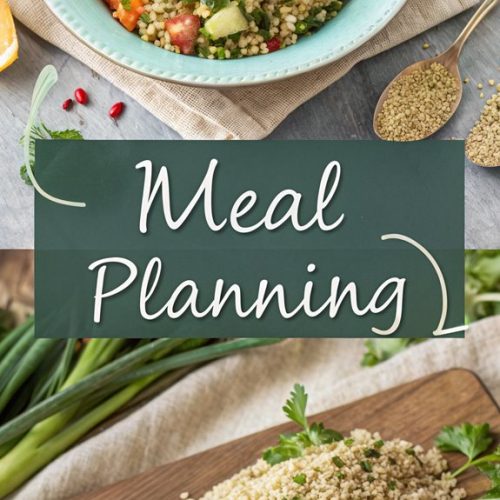
Meal Planning
You might think meal planning is too time-consuming, but it can actually save you time and stress during the week. By organizing your meals ahead of time, you make shopping and cooking simpler. This approach not only helps you stick to a budget but also encourages healthier eating choices. Curious about how to start your own meal plan? Let’s explore the steps you can take to make this process easier and more enjoyable.
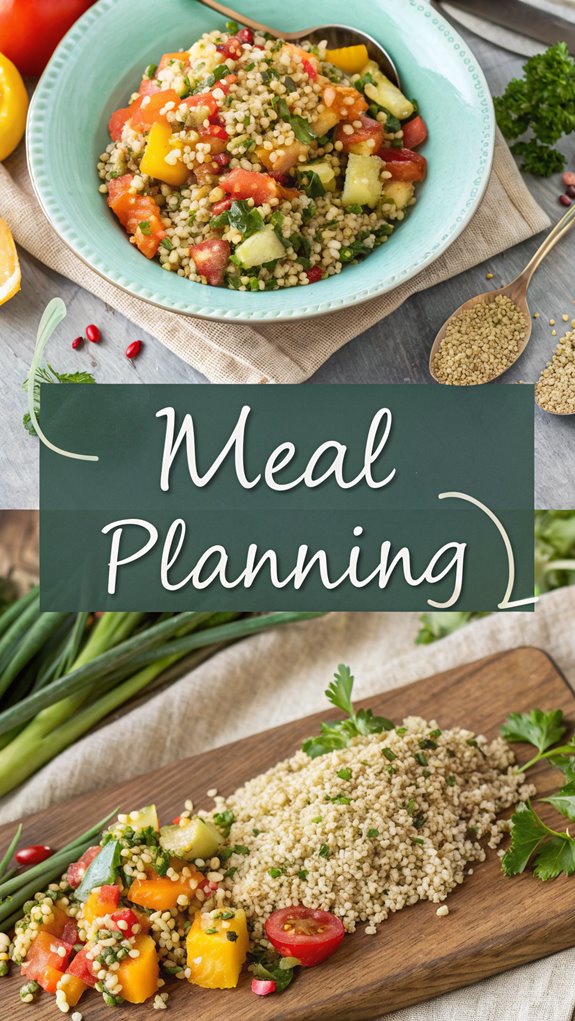
Why You’ll Love This Recipe
When you start meal planning, you’ll quickly discover how much easier it makes your week. You’ll save time by reducing those last-minute decisions about what to eat, making grocery shopping a breeze.
By knowing exactly what you need, you can cut down on impulse buys and stick to a budget. Plus, planning ahead promotes healthier eating habits since you can focus on nutrient-dense foods and manage your portions while avoiding overeating.
You’ll also reduce stress, as having a meal plan eliminates daily cooking dilemmas. Over time, you’ll notice the benefits of eating well and saving money by avoiding restaurants.
History
The history of meal planning stretches back thousands of years, revealing how cultures have adapted their eating habits over time.
Ancient Romans used preservation methods like brine and vinegar, while introducing portable kitchens and early fast-food concepts. As time progressed, meal preparation became more organized, with cooks prepping ingredients in advance. Meal preparation practices began to formalize in the late 17th Century, as cooks organized meal components in advance to streamline cooking processes.
During World War I, ready-made meals emerged, marking a shift in how people approached cooking. By the mid-20th century, innovations like microwave ovens made reheating meals easy, and meal prep gained traction in fitness communities.
In the 2000s, social media played an essential role in popularizing meal prep, making it accessible to everyone.
Today, it influences global eating habits, emphasizing health and convenience.
Recipe
Ingredients:
– 1 cup quinoa
– 2 cups water or vegetable broth
– 1 can (15 oz) black beans, rinsed and drained
– 1 cup cherry tomatoes, halved
– 1 bell pepper, diced
– 1 small red onion, diced
– 1 avocado, diced (optional)
– 1/4 cup fresh cilantro, chopped
– Juice of 2 limes
– 3 tablespoons olive oil
– Salt and pepper to taste
– 1 teaspoon cumin (optional)
– 1/2 teaspoon chili powder (optional)
Cooking Instructions:
- Rinse the quinoa under cold water to remove any bitterness. In a medium saucepan, combine the rinsed quinoa and water (or vegetable broth) and bring to a boil.
- Once boiling, reduce the heat to low, cover, and simmer for about 15 minutes or until the quinoa is fluffy and the liquid is absorbed. Remove from heat and allow it to cool.
- In a large mixing bowl, combine the black beans, cherry tomatoes, bell pepper, red onion, and cilantro. If using avocado, add it just before serving to prevent browning.
- In a small bowl, whisk together the lime juice, olive oil, cumin, chili powder, salt, and pepper. Adjust seasoning to taste.
- Once the quinoa has cooled, fluff it with a fork and add it to the mixing bowl with the vegetables. Pour the dressing over the salad and gently toss to combine all ingredients.
- Serve immediately or refrigerate for about 30 minutes to let the flavors meld together. This salad can be stored in the refrigerator for up to three days. Utilizing a common theme in your meal prep can enhance coordination and variety.
For best results, allow the quinoa to cool completely before mixing with other ingredients to retain its texture.
Additionally, feel free to experiment with different vegetables or dressings to suit your taste. This salad is versatile, so you can enjoy it on its own or as a side dish alongside grilled meats or fish.
Final Thoughts
Meal planning can greatly enhance your cooking experience and overall lifestyle. By organizing meals in advance, you save time during busy weeks and reduce stress from last-minute decisions.
Planning meals helps you choose healthier options and can lead to financial savings by using seasonal ingredients and minimizing food waste. Start simple and gradually build your confidence with meal planning. Incorporating leftover-friendly recipes into your meals can maximize your use of ingredients and reduce waste.
Incorporate leftovers into your meals and create a master list of favorite recipes for easy reference. Remember to take into account your schedule and allow for flexibility, so you can adjust based on your needs.
With just 30 minutes spent planning each week, you can enjoy a more organized, enjoyable cooking experience that fits your lifestyle.
FAQ
Have questions about meal planning? You’re not alone! Start by reviewing your calendar to find busy days and plan meals around them.
Next, check your pantry and freezer to avoid buying duplicates. Choose recipes that work for your lifestyle, whether you prefer meal prepping or cooking daily. Utilizing existing pantry items is a smart way to save money while meal planning.
Once you’ve selected recipes, create a meal plan using a template to organize meals by day and time. Don’t forget to make a grocery list based on needed ingredients, checking what you already have.
Remember, meal planning helps with weight management, promotes healthy eating, saves time, reduces stress, and cuts costs.
Stay flexible with your plans, and enjoy the process of making healthier meals for you and your family!
Meal Planning
- Ingredients:
- - 1 cup quinoa
- - 2 cups water or vegetable broth
- - 1 can 15 oz black beans, rinsed and drained
- - 1 cup cherry tomatoes halved
- - 1 bell pepper diced
- - 1 small red onion diced
- - 1 avocado diced (optional)
- - 1/4 cup fresh cilantro chopped
- - Juice of 2 limes
- - 3 tablespoons olive oil
- - Salt and pepper to taste
- - 1 teaspoon cumin optional
- - 1/2 teaspoon chili powder optional
Cooking Instructions:
Rinse the quinoa under cold water to remove any bitterness. In a medium saucepan, combine the rinsed quinoa and water (or vegetable broth) and bring to a boil.
Once boiling, reduce the heat to low, cover, and simmer for about 15 minutes or until the quinoa is fluffy and the liquid is absorbed. Remove from heat and allow it to cool.
In a large mixing bowl, combine the black beans, cherry tomatoes, bell pepper, red onion, and cilantro. If using avocado, add it just before serving to prevent browning.
In a small bowl, whisk together the lime juice, olive oil, cumin, chili powder, salt, and pepper. Adjust seasoning to taste.
Once the quinoa has cooled, fluff it with a fork and add it to the mixing bowl with the vegetables. Pour the dressing over the salad and gently toss to combine all ingredients.
Serve immediately or refrigerate for about 30 minutes to let the flavors meld together. This salad can be stored in the refrigerator for up to three days. Utilizing a common theme in your meal prep can enhance coordination and variety.
For best results, allow the quinoa to cool completely before mixing with other ingredients to retain its texture.
Additionally, feel free to experiment with different vegetables or dressings to suit your taste. This salad is versatile, so you can enjoy it on its own or as a side dish alongside grilled meats or fish.