artisan bread
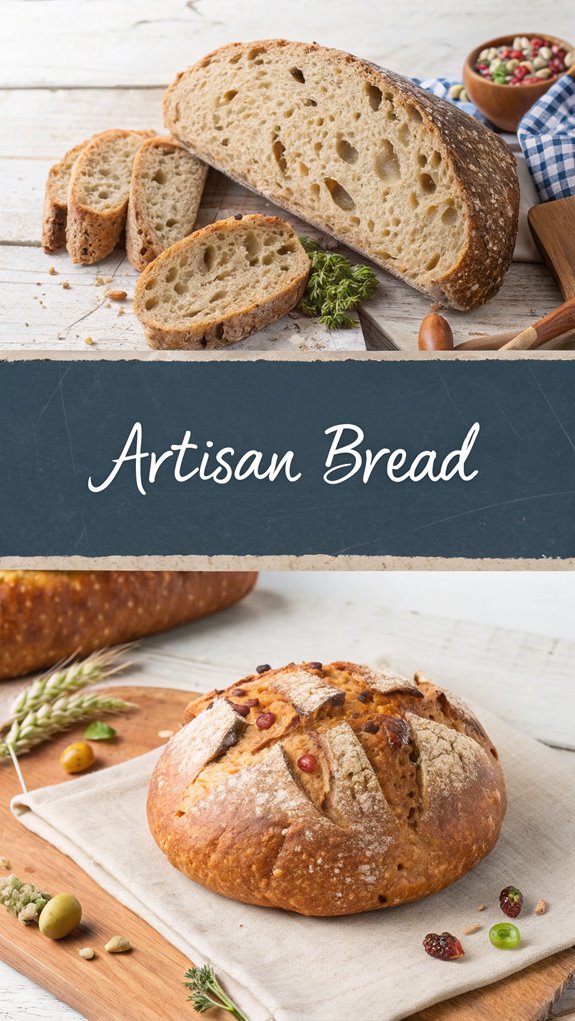
Artisan Bread
Artisan bread is like a warm hug for your taste buds, offering a delightful blend of flavors and textures. If you’ve ever wondered how this handcrafted bread differs from store-bought varieties, you’re not alone. Understanding its unique qualities and rich history can enhance your appreciation. Plus, learning to make it yourself can be a rewarding experience. So, what makes artisan bread truly special? Let’s explore its fascinating journey and the recipe that might just inspire you to bake your own.
Why You’ll Love This Recipe
When you try this artisan bread recipe, you’ll quickly discover why it stands out from store-bought options.
First, artisan bread is rich in nutrients, using whole or semi-whole flours that retain their goodness. The slow fermentation process boosts fiber content, aiding digestion and lowering cholesterol. Additionally, the long fermentation process enhances flavor and increases nutrient availability, making each bite even more satisfying.
You’ll also benefit from better absorption of minerals like calcium and iron, thanks to sourdough fermentation. The probiotics in artisan bread promote a healthy gut, improving digestion and immunity.
Plus, its lower glycemic index helps manage blood sugar levels, reducing the risk of spikes.
With no chemical additives, you’ll enjoy a wholesome loaf that’s easy on your stomach, making it a delicious and healthy choice for any meal.
History
Artisan bread has a rich history that dates back thousands of years, showcasing how this staple food has evolved over time. Early humans discovered that mixing ground grains with water created dough, which they cooked over fire.
In ancient Egypt and Rome, bread symbolized prosperity and played a role in religious ceremonies. By the Middle Ages, bread-making became a skilled trade, often handled by monasteries. Wheat cultivation expanded from Maryland to New England within a century, further influencing bread-making practices.
The 19th century saw industrial advances, like steam-powered mills and commercial yeast, which changed bread-making forever. However, in the 1980s, a return to traditional methods emerged, emphasizing craftsmanship and quality.
Today, artisan bread reflects this rich heritage, connecting communities through shared history and culinary practices.
Recipe
Artisan bread is a delightful and rewarding project for both novice and experienced bakers. The process of crafting this rustic loaf involves a few simple ingredients and techniques, yet the result is a beautifully crusty exterior and a soft, airy interior. The beauty of artisan bread lies in its simplicity and the way it develops flavor through time, allowing the dough to rise and ferment.
Whether you enjoy it fresh from the oven or as a base for sandwiches, homemade artisan bread is sure to impress. To initiate this baking journey, you’ll need to prepare your ingredients and dedicate some time for the dough to rise. The initial mixing and folding of the dough are vital steps that contribute to the bread’s structure. With just a little patience and attention to detail, you can create a loaf that rivals those found in artisan bakeries. Let’s get started!
Ingredients:
– 3 ¾ cups bread flour or 3 cups all-purpose flour
– 2 ¼ teaspoons instant yeast
– 1 ¾ teaspoons kosher salt
– 1 ½ cups warm water (between 120°F and 130°F)
– 1 tablespoon white granulated sugar
Instructions:
1. In a large bowl, combine the flour, yeast, salt, and warm water. Mix until a shaggy dough forms.
2. Cover the bowl with a lid or plastic wrap and let the dough rise for 1 ½ to 2 hours at room temperature, or refrigerate overnight until it has doubled in size.
3. Once the dough has risen, turn it out onto a floured surface. Fold and turn the dough 8 to 10 times until it holds its shape.
4. Shape the dough into a round loaf and let it rest on the floured surface for 10 minutes.
5. Preheat your oven and Dutch oven with a lid at 450°F for at least 30 minutes.
6. Dust the dough with flour and cut a ¼-inch deep slit across the top using a sharp knife or bread lame.
7. Carefully transfer the dough into the preheated Dutch oven, cover it with the lid, and bake for 30 minutes.
8. Remove the lid and continue baking for an additional 15 to 17 minutes, or until the bread is a deep golden brown.
9. Once baked, remove the bread from the Dutch oven and let it cool on a wire rack for at least 20 minutes before slicing.
When making artisan bread, remember that using bread flour can enhance the texture and rise of your loaf due to its higher protein content. Additionally, if you prefer a softer bread, consider adding a tablespoon of oil to the dough during mixing.
Always verify your water is at the right temperature for activating the yeast, and don’t hesitate to experiment with different types of flour or add-ins like herbs or cheese for unique flavor profiles. Happy baking!
Final Thoughts
Baking artisan bread is more than just a culinary task; it’s an experience that connects you to tradition and craftsmanship.
When you choose to make artisan bread, you’re embracing authenticity and quality over mass production. Using simple ingredients like flour, water, salt, and yeast, you engage with time-honored techniques like natural fermentation and hand shaping. This method reflects the ancient practice of leavened bread that originated in ancient Egypt through accidental fermentation.
Remember, this process is about patience and precision, reflecting the rich cultural significance of bread-making. As you bake, you’re not just creating food; you’re participating in a history that spans centuries.
While challenges may arise, your commitment to quality will set your bread apart. Ultimately, the artisan bread movement invites you to celebrate craftsmanship, creating something truly special for yourself and your community.
FAQ
If you’ve just started your journey into the world of artisan bread, you might’ve some questions about the process, storage, and ingredients.
To keep your bread fresh, store unsliced loaves in paper bags at room temperature. If your bread gets soft, re-crisp it in the oven at 350° for 10 minutes. Additionally, fresh breads are available by opening time, ensuring you always have access to delicious options.
Sliced bread should be in a plastic bag and can last for 3-5 days; freezing is best for longer storage. Remember, artisan bread needs to breathe, so don’t seal it tightly.
High-quality ingredients like bread flour and yeast are essential for great flavor.
Finally, many artisan breads are vegan, but always check for dairy or honey if that’s a concern.
Artisan Bread
Ingredients
- Ingredients:
- - 3 ¾ cups bread flour or 3 cups all-purpose flour
- - 2 ¼ teaspoons instant yeast
- - 1 ¾ teaspoons kosher salt
- - 1 ½ cups warm water between 120°F and 130°F
- - 1 tablespoon white granulated sugar
Instructions
- Instructions:
- In a large bowl, combine the flour, yeast, salt, and warm water. Mix until a shaggy dough forms.
- Cover the bowl with a lid or plastic wrap and let the dough rise for 1 ½ to 2 hours at room temperature, or refrigerate overnight until it has doubled in size.
- Once the dough has risen, turn it out onto a floured surface. Fold and turn the dough 8 to 10 times until it holds its shape.
- Shape the dough into a round loaf and let it rest on the floured surface for 10 minutes.
- Preheat your oven and Dutch oven with a lid at 450°F for at least 30 minutes.
- Dust the dough with flour and cut a ¼-inch deep slit across the top using a sharp knife or bread lame.
- Carefully transfer the dough into the preheated Dutch oven, cover it with the lid, and bake for 30 minutes.
- Remove the lid and continue baking for an additional 15 to 17 minutes, or until the bread is a deep golden brown.
- Once baked, remove the bread from the Dutch oven and let it cool on a wire rack for at least 20 minutes before slicing.
- When making artisan bread, remember that using bread flour can enhance the texture and rise of your loaf due to its higher protein content. Additionally, if you prefer a softer bread, consider adding a tablespoon of oil to the dough during mixing.
- Always verify your water is at the right temperature for activating the yeast, and don't hesitate to experiment with different types of flour or add-ins like herbs or cheese for unique flavor profiles. Happy baking!