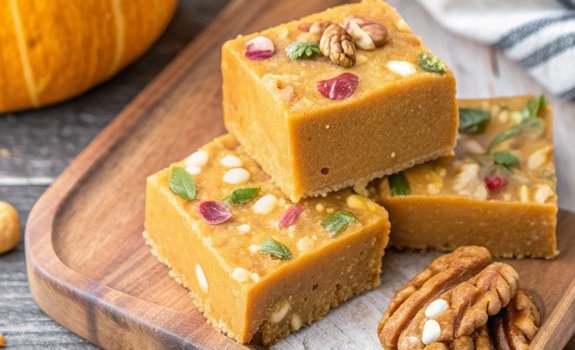
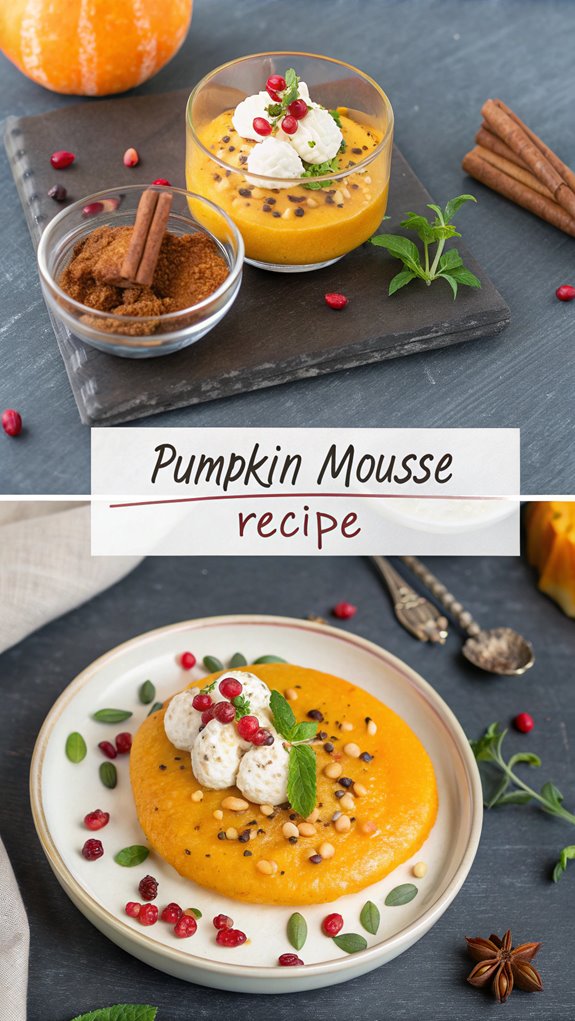
Pumpkin Mousse
Have you ever wondered how a simple pumpkin puree can transform into a light and creamy dessert? Pumpkin mousse is not only easy to make, but it also caters to various dietary needs, making it a perfect treat for everyone. With its rich flavors and versatile ingredients, you can enjoy this dessert guilt-free. Let’s explore the history, recipe, and tips that will help you master this delightful dish.
Why You’ll Love This Recipe
When you try this pumpkin mousse recipe, you’ll quickly discover why it’s a favorite among many home cooks. Not only is it easy to make, but it’s also packed with nutritional benefits.
The recipe features pumpkin puree, which is high in vitamins K and A, along with healthy fats from coconut milk that can help reduce inflammation. Additionally, this dessert is gluten-free and Paleo-friendly, making it accessible for those with dietary restrictions. You can customize your mousse by using different sweeteners like maple syrup or monk fruit, making it suitable for various diets, including vegan and paleo.
Plus, it can be stored in the fridge for up to a week, allowing you to enjoy it over several days. With its creamy texture and rich flavor, it’s a delightful and versatile dessert option.
History
The history of pumpkin mousse is as rich and layered as the dessert itself, tracing back to culinary traditions that span centuries.
In the 18th century, the French created savory mousses, using eggs and gelatin. The introduction of cocoa powder in the 19th century inspired new dessert recipes, including mousse.
Pumpkins, native to Mesoamerica, made their way to Europe through the Columbian Exchange, becoming popular in various dishes. Early American recipes like Amelia Simmons’ pumpkin pie from 1796 laid the groundwork for pumpkin desserts.
By the 20th century, mousse gained popularity, and canned pumpkin made it easier to create these treats at home. Pumpkin mousse is now a beloved dessert option for any time of year, particularly after heavy meals.
Today, pumpkin mousse reflects a blend of historical influences and modern convenience.
Recipe
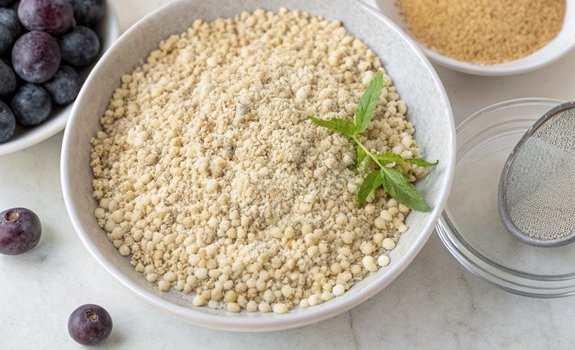
Ingredients:
– 1 cup canned pumpkin puree
– 1 cup heavy cream (divided)
– 1/2 cup powdered sugar (or sweetener of choice)
– 1 teaspoon pure vanilla extract
– 1 teaspoon ground cinnamon
– 1/2 teaspoon ground ginger
– 1/4 teaspoon ground nutmeg
– 1/4 teaspoon allspice
– 1 tablespoon gelatin (optional for a firmer texture)
– 2 tablespoons milk (optional for gelatin)
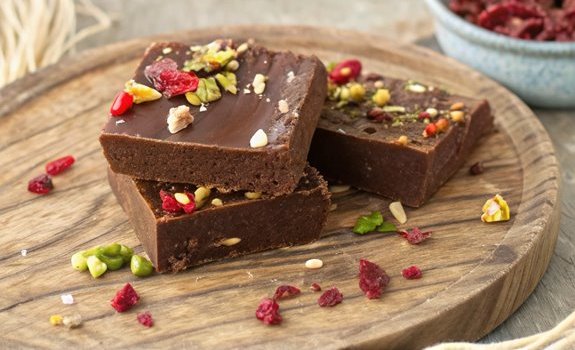
– Garnishes (optional): whipped cream, dark chocolate glaze, chopped crystallized ginger, gingersnap cookies
Cooking Instructions:
- In a medium saucepan, combine the gelatin and milk over low heat. Stir until the gelatin is completely dissolved, then set aside to cool slightly. If not using gelatin, skip this step.
- In a large mixing bowl, whisk together the pumpkin puree, powdered sugar, vanilla extract, and spices until smooth and well combined. If using gelatin, slowly incorporate the cooled gelatin mixture into the pumpkin mixture.
- In a separate bowl, whip the heavy cream until soft peaks form. Gently fold about one-third of the whipped cream into the pumpkin mixture to lighten it.
- Carefully fold in the remaining whipped cream until no streaks remain, taking care to keep the mixture airy and light.
- Spoon the mousse into individual serving cups or a large casserole dish. Cover with plastic wrap and refrigerate for at least 4 hours or overnight to set.
- Before serving, top the mousse with additional whipped cream and your choice of garnishes, such as dark chocolate glaze, chopped crystallized ginger, or crumbled gingersnap cookies.
Extra Tips:
For a thicker texture, opt for full-fat coconut milk instead of heavy cream, or use a combination of both.
Experiment with different sweeteners like honey or maple syrup for a unique flavor profile. The mousse can be made dairy-free, egg-free, vegan, gluten-free by using appropriate alternatives.
If you want to switch things up, consider substituting pumpkin puree with sweet potato puree or roasted butternut squash.
Remember to gently fold the whipped cream into the pumpkin mixture to maintain that light and airy texture that makes mousse so irresistible.
Enjoy your delicious pumpkin mousse!
Final Thoughts
As you wrap up your pumpkin mousse creation, remember that this delightful dessert not only offers a unique blend of flavors but also brings numerous health benefits. With options ranging from lower-calorie recipes to richer variations, you can tailor the dish to fit your needs. Packed with vitamin A, it supports eye health and immune function. The dietary fiber contributes to digestive health, while its vitamin K content aids bone health. Additionally, this mousse is a low-calorie dessert alternative that allows you to indulge without guilt.
Keep in mind, though, that the mousse is high in carbohydrates, which may concern those managing blood sugar levels. Whether you’re enjoying it at a fall celebration or a cozy dinner, this versatile dessert is sure to impress your guests while providing a nutritious treat.
FAQ
Wrapping up your pumpkin mousse experience, you might’ve some questions about the preparation, ingredients, or variations.
To start, you can use canned pumpkin puree for convenience or roast a pie pumpkin for a fresher taste. When whipping cream, be careful not to over-whip, as this can create a grainy texture. Pumpkin Mousse is a favorite fall dessert that combines the flavors of pumpkin cheesecake in a light dessert.
Make sure to chill your mousse for at least 1-4 hours to achieve the right consistency. For toppings, try whipped cream, chocolate chips, or candied pecans.
If you’re looking for alternatives, consider using full-fat coconut milk for a dairy-free option or sweet potato puree instead of pumpkin. Adjust spices to suit your taste, and enjoy creating your perfect pumpkin mousse!
Pumpkin Mousse
- Ingredients:
- - 1 cup canned pumpkin puree
- - 1 cup heavy cream divided
- - 1/2 cup powdered sugar or sweetener of choice
- - 1 teaspoon pure vanilla extract
- - 1 teaspoon ground cinnamon
- - 1/2 teaspoon ground ginger
- - 1/4 teaspoon ground nutmeg
- - 1/4 teaspoon allspice
- - 1 tablespoon gelatin optional for a firmer texture
- - 2 tablespoons milk optional for gelatin
- - Garnishes optional: whipped cream, dark chocolate glaze, chopped crystallized ginger, gingersnap cookies
Cooking Instructions:
In a medium saucepan, combine the gelatin and milk over low heat. Stir until the gelatin is completely dissolved, then set aside to cool slightly. If not using gelatin, skip this step.
In a large mixing bowl, whisk together the pumpkin puree, powdered sugar, vanilla extract, and spices until smooth and well combined. If using gelatin, slowly incorporate the cooled gelatin mixture into the pumpkin mixture.
In a separate bowl, whip the heavy cream until soft peaks form. Gently fold about one-third of the whipped cream into the pumpkin mixture to lighten it.
Carefully fold in the remaining whipped cream until no streaks remain, taking care to keep the mixture airy and light.
Spoon the mousse into individual serving cups or a large casserole dish. Cover with plastic wrap and refrigerate for at least 4 hours or overnight to set.
Before serving, top the mousse with additional whipped cream and your choice of garnishes, such as dark chocolate glaze, chopped crystallized ginger, or crumbled gingersnap cookies.
Extra Tips:
For a thicker texture, opt for full-fat coconut milk instead of heavy cream, or use a combination of both.
Experiment with different sweeteners like honey or maple syrup for a unique flavor profile. The mousse can be made dairy-free, egg-free, vegan, gluten-free by using appropriate alternatives.
If you want to switch things up, consider substituting pumpkin puree with sweet potato puree or roasted butternut squash.
Remember to gently fold the whipped cream into the pumpkin mixture to maintain that light and airy texture that makes mousse so irresistible.
Enjoy your delicious pumpkin mousse!