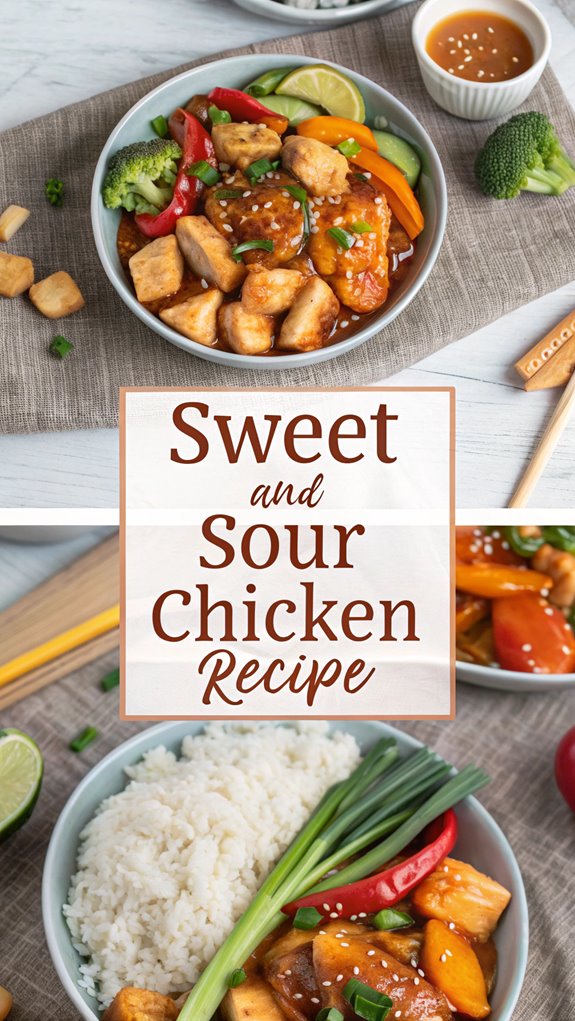
Sweet and Sour Chicken
Sweet and Sour Chicken is a popular dish that combines crispy chicken with a tangy sauce and colorful vegetables. It’s easy to make and pairs well with rice or noodles, making it a great choice for family dinners. Understanding its history can enhance your appreciation for this dish. So, let’s explore its origins and how to prepare it, ensuring you get the most out of this delightful recipe.
Why You’ll Love This Recipe
When you try this Sweet and Sour Chicken recipe, you’ll find it’s not just delicious but also packed with health benefits. This homemade dish is healthier than takeout, giving you control over ingredients and reducing excess oils.
You’ll love the vibrant, nutrient-rich bell peppers and pineapple, which add essential vitamins. Plus, it’s adaptable for gluten-free diets and low in added sugars, using natural sweetness instead. Homemade versions offer a better flavor and control over ingredients, making this dish even more appealing.
The recipe is easy to follow, taking just 15 minutes to prep and cook. It’s kid-friendly, with familiar flavors and no spicy ingredients.
You can also customize it by adding extra vegetables or trying different cooking methods. This flexibility makes it a fun dish for everyone at the table.
History
Sweet and Sour Chicken has a rich history that reflects the journey of Chinese cuisine as it adapted to new environments.
Originating during the Manchus Dynasty, traditional Chinese cooking focused on diverse ingredients and methods, commonly using fish for sweet and sour dishes. However, when Chinese immigrants arrived in the United States, they adapted recipes to suit local tastes, leading to the creation of Sweet and Sour Chicken. This American Chinese dish features battered, deep-fried chicken smothered in a tangy sauce, often made with ketchup and canned pineapple. Traditional Chinese serving style involves sauce on the side for dipping, showcasing the contrast between authentic practices and American adaptations.
While some might see this dish as inauthentic, it symbolizes the resilience of Chinese immigrants and has gained global popularity, showcasing the evolving nature of culinary traditions across cultures.
Recipe
Sweet and Sour Chicken is a delicious and vibrant dish that combines tender chicken with a tangy sauce, offering a delightful balance of flavors. This dish is often a favorite at takeout restaurants, but it can be easily recreated at home with fresh ingredients. The crispy chicken, coated in a homemade sweet and sour sauce, pairs perfectly with steamed rice or noodles, making it a satisfying meal any day of the week. Healthier alternatives to traditional takeout options can be achieved by using fresh ingredients and cooking methods that reduce grease.
To prepare Sweet and Sour Chicken, you’ll start by creating the crispy chicken pieces. Coating the chicken in cornstarch or flour before frying helps achieve that crunchy texture we all love. The sauce, made with a blend of ketchup, vinegar, soy sauce, and sugar, adds a sweet and tart flavor that complements the chicken beautifully. Colorful vegetables like bell peppers and onions can be added for extra nutrition and visual appeal.
Ingredients:
– 1 lb chicken breast, cut into bite-sized pieces
– 1/2 cup cornstarch (or flour)
– 2 eggs, beaten
– Oil for frying
– 1 bell pepper, chopped
– 1 onion, chopped
– 1 cup pineapple chunks
For the Sweet and Sour Sauce:
– 1/2 cup ketchup
– 1/4 cup vinegar (apple cider or rice wine)
– 1/4 cup soy sauce
– 1/2 cup sugar
– 1 tablespoon cornstarch mixed with 2 tablespoons water (for thickening)
– 2 cloves garlic, minced
Cooking Instructions:
-
Begin by marinating the chicken pieces in soy sauce and a pinch of baking soda for about 15 minutes. This will help tenderize the chicken and infuse it with flavor.
-
In a shallow bowl, coat the marinated chicken pieces first in cornstarch (or flour), then dip them into the beaten eggs making sure they’re well-coated.
-
Heat oil in a deep frying pan over medium-high heat. Once the oil is hot, carefully add the chicken pieces in small batches and fry until golden brown and crispy, about 5-7 minutes. Remove the cooked chicken and place it on a paper towel to drain excess oil.
-
In a separate saucepan, combine ketchup, vinegar, soy sauce, and sugar over medium heat. Stir until the sugar dissolves and the mixture begins to simmer.
-
Add the minced garlic and the cornstarch-water mixture to the sauce, stirring constantly until the sauce thickens, about 2-3 minutes. Adjust the sweetness and sourness to your preference by adding more sugar or vinegar.
-
In the same pan used for frying, add the chopped bell pepper, onion, and pineapple chunks. Stir-fry until the vegetables are slightly tender, about 3-4 minutes.
-
Add the crispy chicken to the vegetable mixture and pour the sweet and sour sauce over it. Toss everything together until the chicken and vegetables are well coated with the sauce.
-
Serve the Sweet and Sour Chicken hot over rice or noodles, garnished with chopped green onions and sesame seeds if desired.
Extra Tips:
For the best results, make sure that the oil is hot enough before adding the chicken to achieve a crispy texture. You can also customize the dish by adding other vegetables like carrots or snap peas. If you prefer a healthier option, consider baking the chicken instead of frying. Additionally, feel free to adjust the sauce ingredients to fit your taste preferences, making it sweeter, tangier, or spicier as you like.
Final Thoughts
While many people enjoy the familiar taste of Sweet and Sour Chicken from their favorite restaurants, making it at home can be both rewarding and fun.
This dish isn’t just a meal; it’s a blend of cultures and flavors that reflect the journey of Chinese immigrants. By preparing it yourself, you connect with its rich history and adaptability, showcasing how Chinese restaurateurs adapted traditional recipes to cater to American tastes.
You can experiment with ingredients and adjust the flavors to suit your palate, whether you prefer a sweeter sauce or a tangier kick. Remember, the key to a great dish is balance.
FAQ
Have questions about making Sweet and Sour Chicken? First, you’ll want to know the common ingredients.
You’ll typically use sugars like granulated and brown sugar, along with vinegar and soy sauce for flavor. Marinate your chicken pieces with salt, pepper, and sometimes egg for a better coating.
For a crispy texture, double fry the chicken and keep the oil at 350°F. When cooking, prepare your sauce in advance for quick thickening. Light soy sauce is essential for the best flavor in your dish.
Serve your dish with steamed rice or noodles and garnish it with green onions and sesame seeds. You can include colorful vegetables like bell peppers and onions to enhance the flavor.
Finally, feel free to experiment with chicken choices and sauce variations to suit your taste!