bread baking
Bread Baking
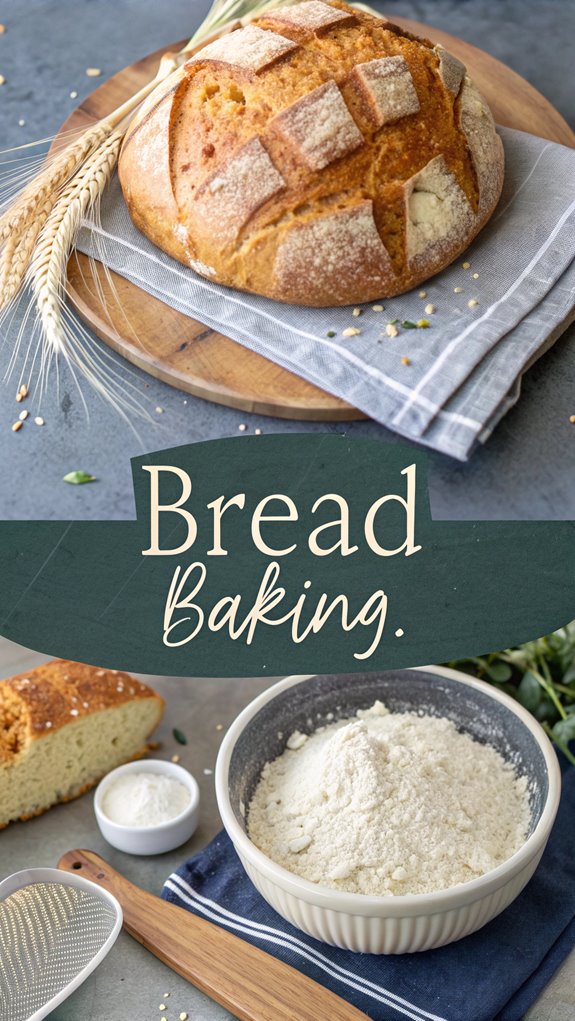
Baking bread at home can be a fulfilling experience. You get to choose your ingredients, ensuring a fresher, healthier loaf. The process starts with proofing yeast, then progresses to forming and kneading the dough. Each step is essential for achieving the perfect texture and flavor. Understanding these basics can lead you to create a variety of breads. Curious about the history behind this age-old craft and how to get started?
Why You’ll Love This Recipe
When you choose to bake bread at home, you’ll discover a world of benefits that store-bought options simply can’t match.
First, you control every ingredient, allowing for healthier choices like whole grain flours and reduced sugar. This means your homemade bread can have higher fiber content, which is great for digestion and can help lower cholesterol. Additionally, the aroma of freshly baked bread enhances your home environment and creates a warm and inviting atmosphere.
You’ll also avoid preservatives and artificial ingredients commonly found in commercial bread. Plus, making bread at home is cost-effective; it’s often cheaper than buying artisanal loaves and minimizes food waste.
With the flexibility to customize recipes, you can create bread that fits your dietary needs and personal taste. Enjoy fresh, delicious bread that not only nourishes but also saves you money over time.
History
The history of bread baking stretches back thousands of years, revealing how this essential food has evolved over time.
Around 5,000 to 6,000 years ago in prehistoric Egypt, people began making bread, using cultivated wheat from the Fertile Crescent. Ancient Egyptians discovered leavening by adding yeast or sourdough starters, which made bread rise. Extensive evidence of prehistoric breadmaking in Neolithic Egypt highlights the significance of this staple food in ancient diets.
The Greeks and Romans learned these techniques, experimenting with different shapes and flavors. As baking spread across Europe, it became central to the medieval diet, with bakers creating various bread types and forming guilds to regulate quality.
The Industrial Revolution modernized bread-making through mass production, while artisan techniques still thrive today, emphasizing natural ingredients and traditional methods, showcasing craftsmanship and unique flavors.
Recipe
Ingredients:
– Active dry yeast
– Warm water (110°-115° F)
– Sugar or honey
– Salt
– Canola or vegetable oil
– Bread flour or all-purpose flour
Cooking Instructions:
-
Proof the Yeast: In a large bowl or stand mixer, combine the active dry yeast, warm water, and a pinch of sugar. Allow the mixture to sit for 5-10 minutes until it becomes foamy, indicating that the yeast is active.
-
Combine Ingredients: Add in the remaining sugar, salt, oil, and most of the flour to the yeast mixture. Stir to combine. Gradually add more flour until the dough pulls away from the sides of the bowl and forms a cohesive mass.
-
Knead the Dough: Turn the dough out onto a lightly floured surface. Knead the dough for 4-5 minutes using your hands or use a stand mixer with a dough hook for 5-8 minutes until it’s smooth and slightly sticky. This process helps develop gluten, which is essential for the bread’s structure.
-
First Rise: Place the kneaded dough into a greased bowl, cover with a lightweight dish towel or plastic wrap, and let it rise in a warm place until it doubles in size, which will take about 1.5 hours.
-
Shape the Dough: After the first rise, punch down the dough to release any air bubbles. Divide the dough into two equal portions and shape each portion into a long log that fits into your greased loaf pans.
-
Second Rise: Place the shaped logs into the greased loaf pans. Cover them again with a lightweight dish towel or plastic wrap and allow them to rise for another 45 minutes to 1 hour, until they’ve doubled.
-
Preheat Oven: While the dough is rising, preheat your oven to 375° F (or 350° F if using a dark pan).
-
Bake the Bread: Once the dough has risen, bake in the preheated oven for 30-33 minutes, or until the tops are golden brown and the loaves sound hollow when tapped on the bottom.
-
Cool the Bread: Remove the loaves from the oven and invert them onto a wire cooling rack. Allow them to cool for at least 10 minutes. Optionally, brush the tops with butter before cooling.
Extra Tips: To guarantee the best results, always use fresh yeast and make sure to test it during the proofing stage.
If you want to speed up the rising process, you can place your dough in a warm oven (set to 180° F, then turned off) with the door slightly ajar.
Be mindful not to add too much flour while kneading; the dough should remain slightly sticky for a tender crumb.
Finally, consider using a Dutch oven for baking, as it traps steam and can yield a better rise and crust. Happy baking!
Final Thoughts
Baking bread is as much an art as it’s a science, so taking the time to understand the final proofing process can greatly enhance your results.
During this stage, watch for a volume increase; your loaves should rise by at least half, ideally doubling in size. This shows the yeast is active, developing flavor through fermentation. Aim for a proof time of 1-2 hours, adjusting based on your environment. Overproofing leads to potential loaf collapse, so be cautious of overproofing, which can weaken the dough’s structure. You can check readiness by gently pressing the dough; if it springs back slowly, it’s ready.
Keep track of your proofing conditions and timings for future reference, helping you achieve consistent and delightful loaves every time.
FAQ
What common questions do bakers have when it comes to making bread? Many wonder why their bread comes out dense. This can happen if your yeast is expired or if you measured flour incorrectly, adding too much.
If your bread is chewy, you might be over-kneading it; try using all-purpose flour instead. Understanding the relationship between water and flour is crucial for achieving the right texture.
Dry bread can often be fixed by adding more oil and balancing your flour-to-water ratio.
If your bread is gooey inside, it likely needs more baking time.
To avoid dough collapsing, limit the second rise to 60 minutes in a warm spot.